Tuesday 29 January 2013

trying my hand at abstract...

Well, its not always easy getting time for blogging....especially being a Mummy to three kiddies, 2 of which are still enjoying school hols. First and foremost I am a Mum, wife and homemaker so life can get a little busy.

Starting...base colour.
Yesterday was such a lovely rainy day, long overdue, especially after all the hot/dry weather lately. (Was probably most appreciated by all the firemen/women). Strangely enough now there are reports of flooding all up the East coast....crazy weather.
Anyway, so we spent the afternoon at home yesterday and I was so motivated to have a go at an abstract painting...rainy days can do that.

The kiddies were all happy, Chris was happy (and even went to our little local store and bought me another batch of colours to add to my paint collection.)

Anyhoo, heres a few pics....including a few different sources of colour inspiration for my artwork, just so I could tie it all in together for our lounge/dining areas.

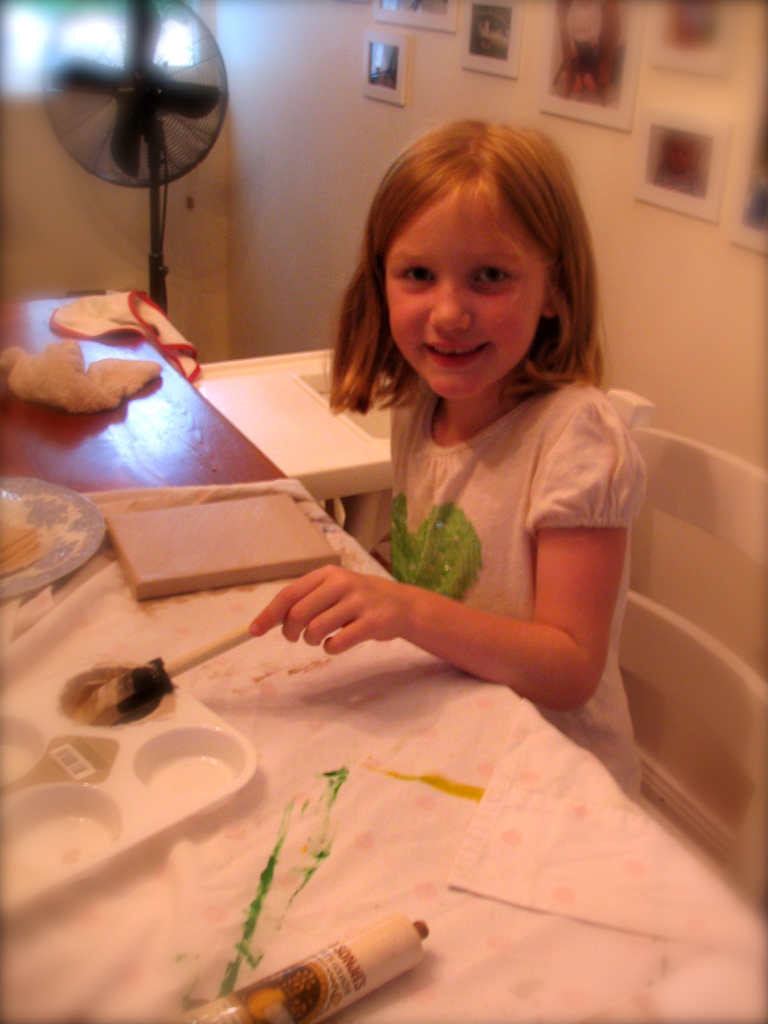
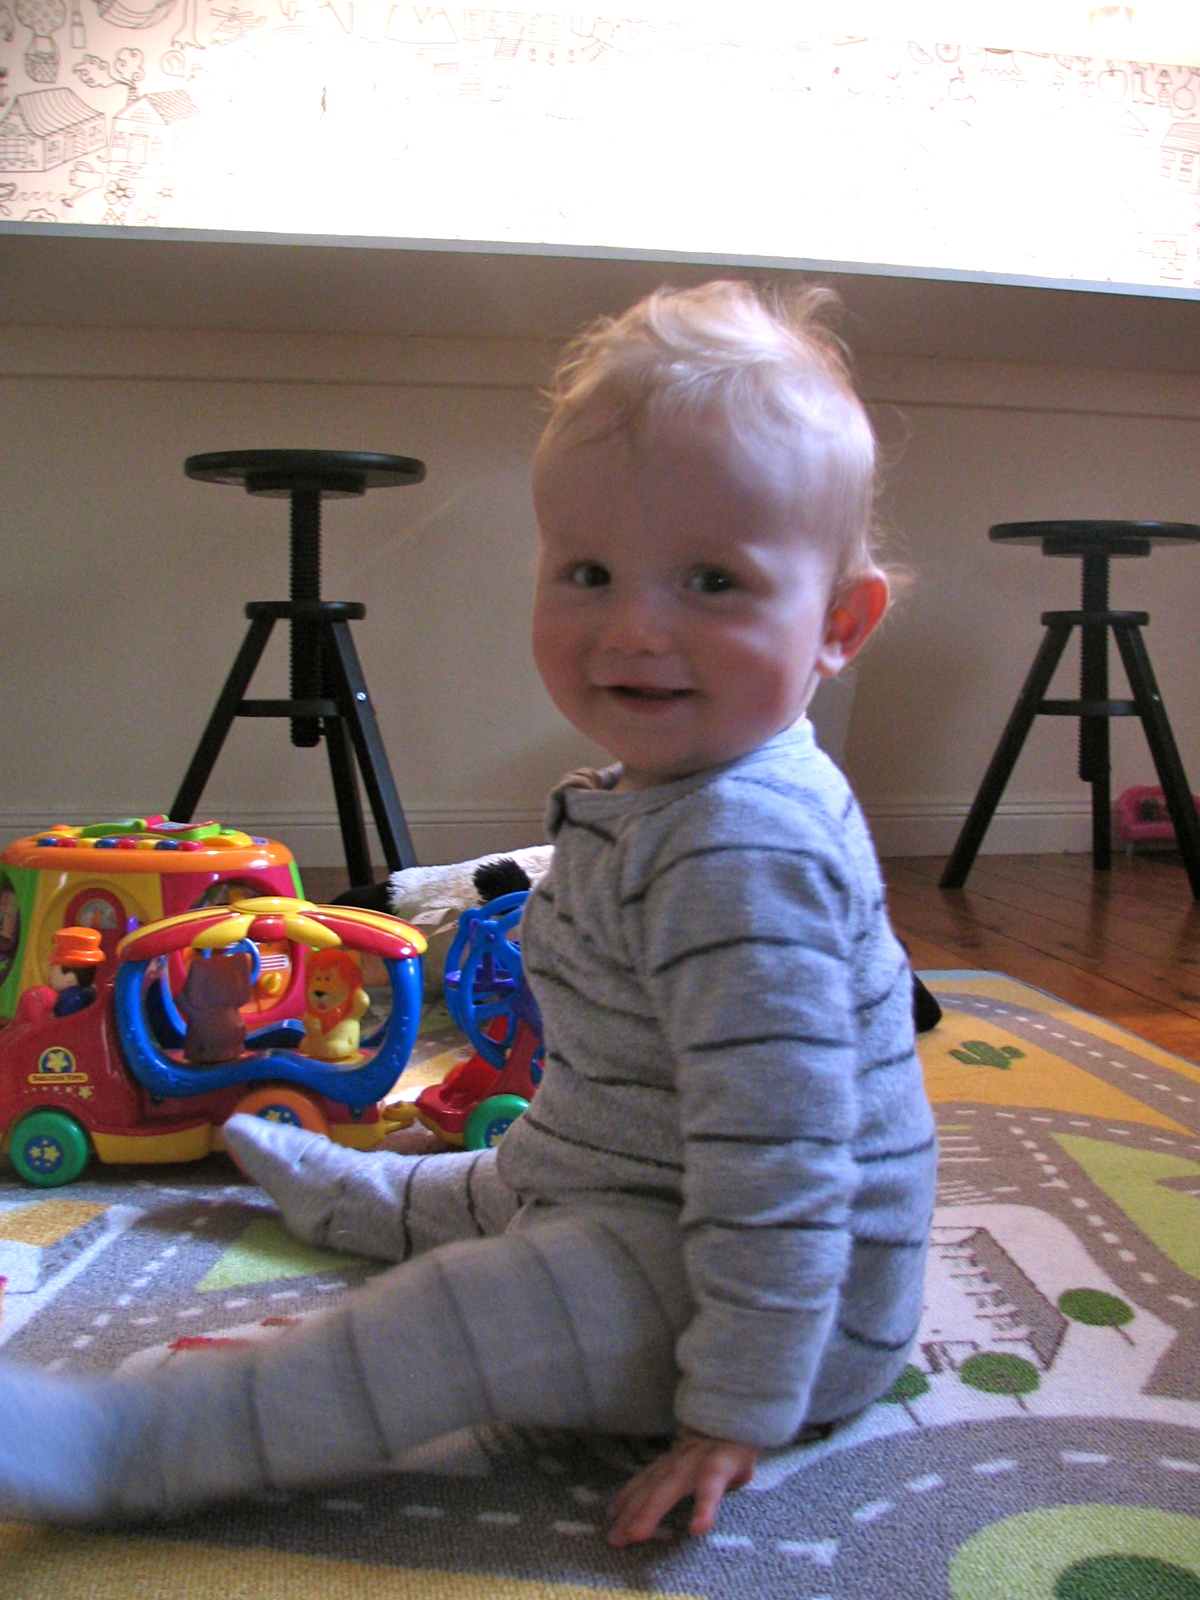
Ash often likes to join in as soon as I pull out the paints, how can I say no.

I have quite a few favourite artists too and I find I am inspired and influenced by many. But my stand out faves are probably local Australian artists like Leisa O'Brien, abstract artist Andrew O'Brien (dont think they are related either?) and overseas artists like Kristen Fountain Davis, Rien Poortvliet and even the odd master, eg Monet, Van Gogh, etc

My colour palette inspiration....


Beaus playmat, photograph by Michael Scott Lees and a fave cushion!


Here is the finished product....altho, give me a day to look at it and I might still tweak it a little....


I think every artist battles with self doubt, still not entirely sure it should be up on the wall, but I do love the colours and I guess thats one thing about abstract art, there is no right or wrong and I think it comes down to how you feel...afterall beauty lies in the eyes of the beholder.

anyhoo...till next time.

Thursday 24 January 2013

Ash as Gruffalos child

Every year at our schools book week we have a book parade, last year Ash had her heart set on going as the Gruffalos child....I had no idea where to start, (remember I dont own a sewing machine).

So we went online and googled Gruffalo costumes....alot of images came up and was so fortunate to find my now favourite blog Making it Lovely. Nicole Balch had handmade her daughter a Gruffalos child costume for Halloween, so bingo,  I was inspired straight away. (There is also the official Grufalo website which is www.GRUFFALO.com for anything and everything Gruffalo.)

Was very basic, pretty much because I had to hand sew it lol. But the end result was good enough for Ash hehehe, she loved it. Its in the dress-up box now along with all the other favourite costumes.
Amazing what you can do with a bit of faux fur, felt, glue, needle and thread. (Daddy made the little styrene horns on top)
(We used her old ugg boots for Gruffalo feet and stuck white felt on to add claws.)
.

Daddy even hand carved/glued a little "Stickman" together too....cant be the Gruffalos child without Stickman!


(The tip of her tail was donated to us by one of Ashleys old dolls), so thoughtful of her to let us give her a haircut hehe.


big sis Hayley went as a Monster High character- Clawdeen Wolf.

And of course we had to have the "purple prickles right down her back"...well pink, because she is still a little girl Gruffalo afterall.

Monday 21 January 2013

dining room

Our dining room is a special place, so many happy & special family moments, meals shared, reflections on our days, stories told, etc.

Our table is made from recycled timber, (I figure with a family its a good idea...I didnt want to be worrying about the table finish constantly), now little imperfections just add to the character. We had matching chairs originally but I thought there was a whole lot of timber going on!

I love the look of mismatched chairs, but didnt want it to look to "busy" either, so I painted them all white gloss, a safe choice I think.

Then the wall alongside of the table was a perfect place for a family photo gallery. An assortment of some of our fave pics are framed there. Starting from Chris and my wedding day....I just blu-tac'd the frames so that they could be easily arranged/rearranged without damaging the wall either.

As it was when we bought the house...

next step to improvement...

The photograph on the end wall is by Australian Alpine photographer  Michael Scott Lees- titled "Entangled in the Mist" (A gift from my husband) 

I am still considering painting my chandelier, so it really "pops", will keep you posted if I decide to go ahead (am I brave enough)?? I have even been eyeing off the sideboard too for a possible colour change (ssshhhhh, dont tell Chris....he would be disgusted hehehehe). Eventually, when we get round to it...we will do the walls a different colour too.

Three of the chairs (seen above and below) I actually found on the side of the road ready for a council pick up....I loved the shape of them and grabbed them straight away (again wish I had a before shot...they were in a yuck state lol) very old, but I think they came up well with a bit of TLC.

Then the other chairs were just our original ones, just changed a little to fit in....plus the upholstery had to go. (Much easier to keep clean now too)

the 3 I found and gave new life to....


Before and after shot of our original "Everyday Living" dining chairs.

We cut them down too, I wanted the dining table to be more of a stand out and feature in the space, so the chairs are more subtle looking now and still compliment the table.

Some close ups below of my beautiful photo canvas, the colours are AMAZING!


Friday 18 January 2013

girls room

My girls share a room, our house is only a 3 bedroom house....but so far it has worked out really well.

I love hearing them chat away at bedtime, they even tell each other stories too...lots of giggling.

We went with bunkbeds, mainly so we could save some floor space, but then what kid doesnt love bunkbeds too!


They both have a shelf to place favourite pics or books.


(Hayley still had her frames empty at this time....)


A favourite and perfect place for reading....


And a couple of Hayley and Ashleys artworks to decorate the walls.

Ash and "friends"


the girls "Monster High" artwork.

Thursday 17 January 2013

TIDNY Fabric - IKEA

TIDNY Fabric - IKEA: IKEA - TIDNY, Fabric, You can personalise the fabric by filling in the outlines with permanent fabric markers.

the girls art/study area

Our house isn't very big, so organisation is essential! and because the house is old we dont have alot of built in storage either. I was thinking of putting a desk in the girls bedroom, but they need all the space they could get for playing!

We are lucky to have a nice open living/dining area in our home and there was one particular wall that just needed something...

So I allocated the spot for a little study, art, craft, computer station.

(Wish I had a before shot to show you the difference. Obviously I wasnt blogging yet....anyhoo, goes to show really you just need a wall!)

The girls love this space, they actually spend alot of time here.  Little budding artist Ash and designer Hayley.

We got the cupboards from Ikea (BESTA/TOFTA storage series), comes in red as well! Stores all our paperwork, pencils/textas etc, art and craft bits.
Then Chris, being a chippy put in the desktop for me....An old piece of noticeboard did the job for the wall in between. I covered it in the Ikea TIDNY fabric (9.99m) just to pretty it up a bit.
The set of downlights was also from Ikea, lighting was important.


At first we were just using our dining chairs because they were a good height, untill I found the exact stools I was after....height adjustable and again, yes, from Ikea. (I find so many great things there that are very affordable, but still stylish too).

So, mission accomplished...little nook created. Its great because I can see them from the kitchen, lounge etc too.

 Great sharing space.
Ash drawing away....

Beau even has his own little spot close by.
Add caption
A better view of how it turned out...

Wednesday 16 January 2013

Little touches in Beaus room


The girls and I made some personal artworks to add to our little Beaus room, makes it extra special I think.

 Two particular childrens books we LOVE and all agree to be favourites, "The Gruffalo" and "The Gruffalos Child" (by Julia Donaldson, illustrated by Axel Scheffler ) gave us our inspiration.

Ashley, my youngest daughter (6) often asks me to draw random pictures of things she likes, anything from Barbie, Octonauts, Mariokart/Donkey kong, Skylanders just to name a few....so it was no surprise when she asked me to draw her a pic from the Gruffalo books. So together we sat down and she helped to colour it in.


Hayleys artwork included.
(My two drawings above left were done straight from the book The Gruffalos child, originals by Axel Scheffler of course).

Here they are framed in Ikea frames.


Little boy Beau....peaceful. Turned himself around.

Matching Ikea bedlinen to co-ordinate with the frames as well.

(Still planning on changing his wall colour tho.....will keep you posted!)


Contemplating how fast his first year went and going over some pics, had to add these, amazing how much they change in such a short time.


Our little ray of sunshine....


Baby Beaus room

Our little fella is one year old next month! where did the year go? crazy how fast they grow....

We have made his bedroom in the quietest corner of the house, but he also has the smallest room....its tiny! (but it is cute). I like baby rooms to be colourful, happy places, with little interesting things to look at because afterall, he does still spend alot of time in his cot.

I have always loved bunting too, but kept putting it off, one because I didnt have a sewing machine and secondly I never found the colours I was after elsewhere. I could have easily sourced some nice fabrics I liked and I am sure my Mum would have let me use her machine, afterall it is very easy to make.  I have seen paper bunting and I think it can look just as nice! so easy fix....

After visiting a local scrapbook store and having fun searching through all the lovely papers the girls and I decided on our favourites.

love vintage planes, especially for a little boys room.


 Was so easy to make, we just needed ribbon (I used nearly 7m just for his tiny room), scissors and a glue stick! (just the ordinary Bostik glue stick you can find in any supermarket/newsagent, etc).

So we cut a triangle to the size we wanted and used that for a template for the rest... then simply stuck them to the ribbon! Little thumb tacks did the job to hold it in place at 3 places on the wall.


Our handsome little man Beau, 11 months.


(Fabric from Ikea stapled
onto 3 canvas adds some nice colour)

I also painted some wooden letters for his name...


Hayley helping cut the paper...easy to get kids involved. (Above, Beau and Daddy checking it out).